The making of a print...
|
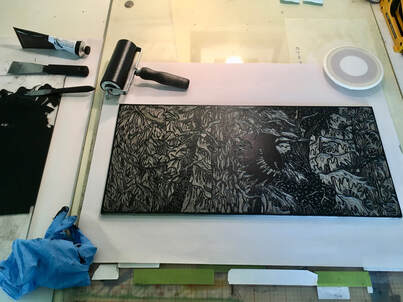
First step is the experience with a bird followed by the design and carving of a block. The first test print is always a surprise and part of the delight of discovery with this medium. Black ink is applied to the block with a tool called a brayer. The ink has to be wet enough to evenly lie on the block not too thick or it will be gloppy nor too thin to run into the carved spaces.
|
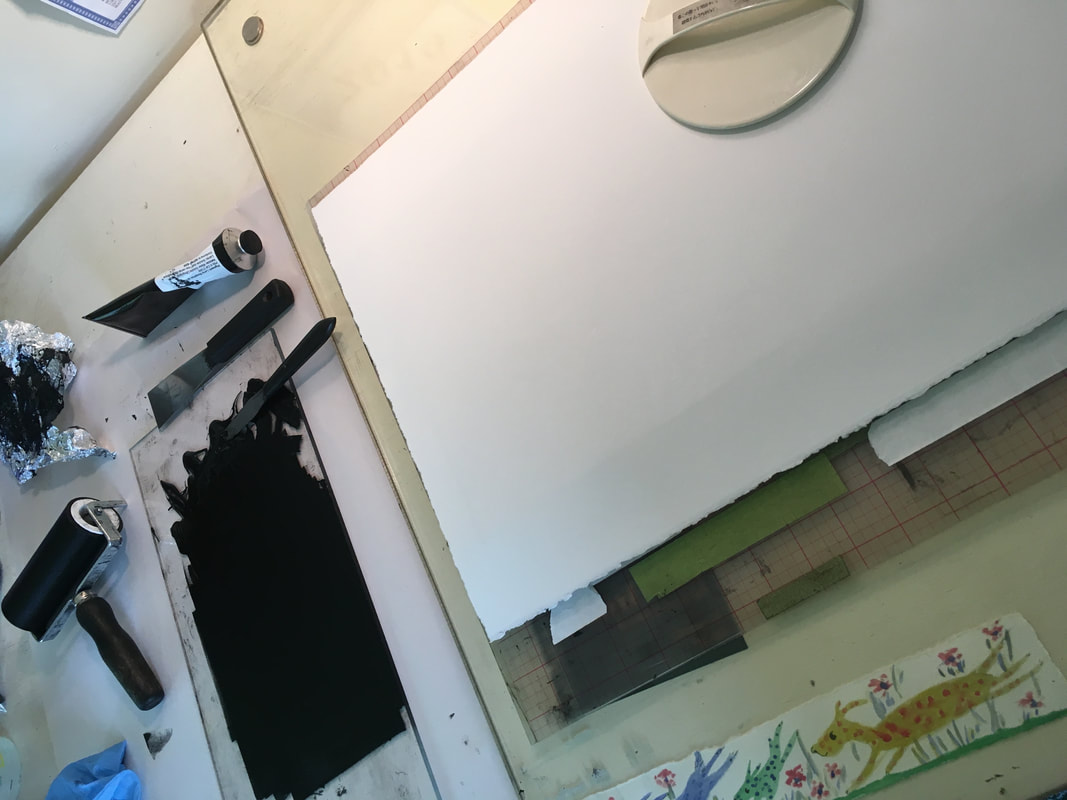
I soak the Rives BFK paper in advance to make it moist which facilitates absorption of the ink. The excess water is blotted between two towels before laying the paper onto the inked block. I use a plastic sheet marked in a grid putting tape to mark placement of the paper onto the block.
|
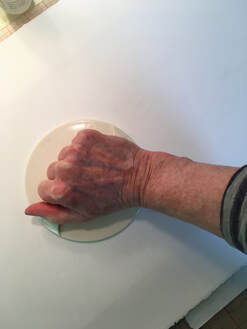
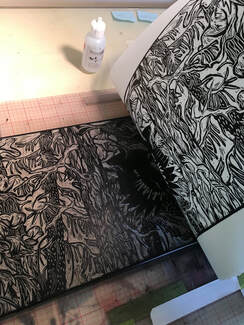
Pressure is applied with the baren rotating across the dampened paper. I lift the edges of the print to see if the ink is nice and dark. If not, more pressure - it's a good workout as the paper is thick! Camelia oil helps the baren glide across the damp paper.
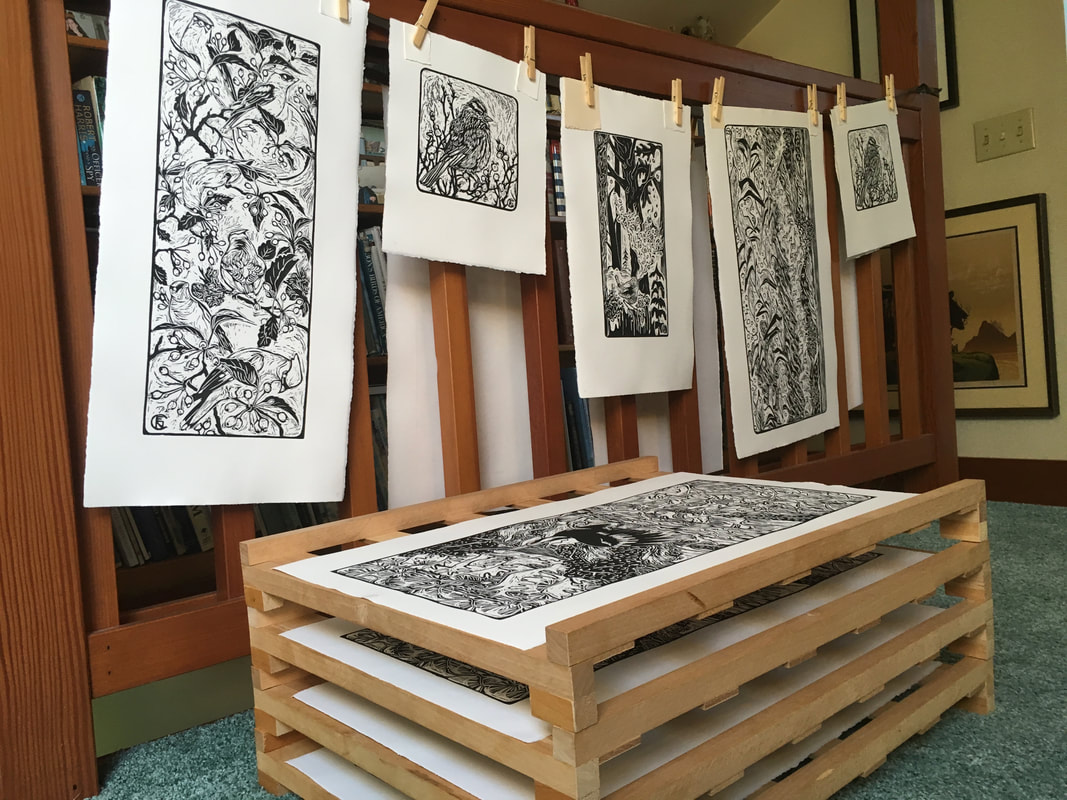
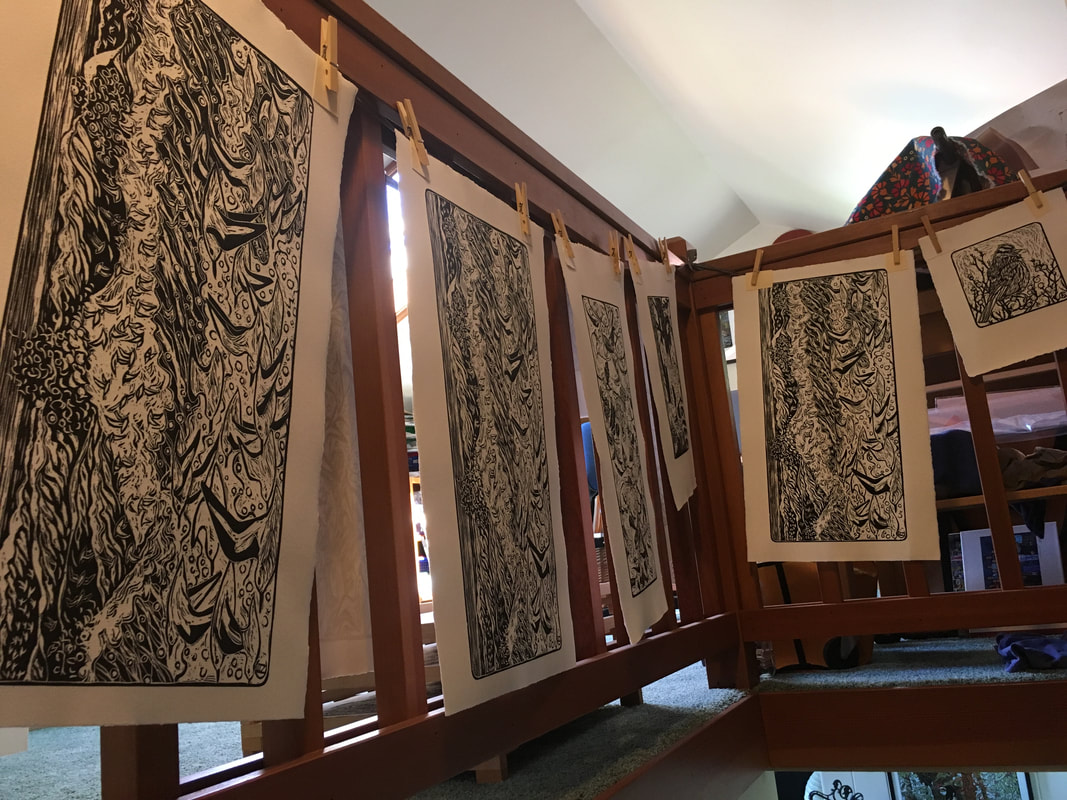
I usually do several days in a row of printing, hanging prints along the rails of my studio loft space and filling a stack of racks. |
|
Once the ink is dry I store the prints between layers of glassine in flat files. The next step is watercolor. I layer transparent watercolor wash in the negative or white space. Each print is unique which is why the letters EV are in the lower left hand corner of a finished piece. "Éditione Varié" is a traditional French term indicating Varied Edition.
|
If you have further questions you can reach me via the Contact Page of this website.
